VS Code Installation and Usage
Overview
There are many compilers for C++. In COMP2011, COMP2012, and COMP2012H officially we use the g++ compiler. For IDE (integrated development environment), on Windows we recommend the use of the VS Code which is free and well-designed. Windows user may proceed to the Using the portable version for Windows (easiest way) section now. If the portable version doesn't work for you, you may also find the instructions for the manual installation of VS Code from the menu on this page.
Installing VS Code for MacOS
On MacOS, feel free to use VS Code as well. For that you can run a script that is created by one of our staff by entering the command
curl https://cse.hkust.edu.hk/~wallacem/vscode/install.sh | bash
in your terminal (read this to see how to open a terminal). The command tries to automate the steps in the first 3 pages of the step-by-step guide on the VS Code installation on MacOS [last updated @ 20200924] for you. Then you can try to create a simple program by following the page 4 and 5 of the guide (but skip the part where the setting is modified and saved in "Preferences: Open Settings (JSON)", as the script already does a similar change for you). If this approach doesn't work, you may close the VSCode and try to perform the full manual installation from page 1 then.
This video shows you the steps for running the script and using VSCode: download here. (The video shows a slightly different curl command for downloading the script, don't mind that, you may just copy and paste the command you see on this webpage instead, i.e., curl https://cse.hkust.edu.hk/~wallacem/vscode/install.sh | bash The overall process remains the same.)
If you are new to Mac, you may also find the following useful:
For running custom commands in VS Code such as compiling multiple source files at the same time or using
make for makefiles, steps should be similar to those on Windows as outlined in Using the terminal for custom compilation commands although the folder opening dialog may look different.
If you really cannot get VS Code running on your Mac, you may use VS Code in the Virtual Barn.
Using the portable version for Windows (easiest way)
The easiest way to get VS Code up and running on your Windows is to use the portable version prepared by us. We have bundled the correct compiler and extensions in it already so that you don't have to install them yourself.
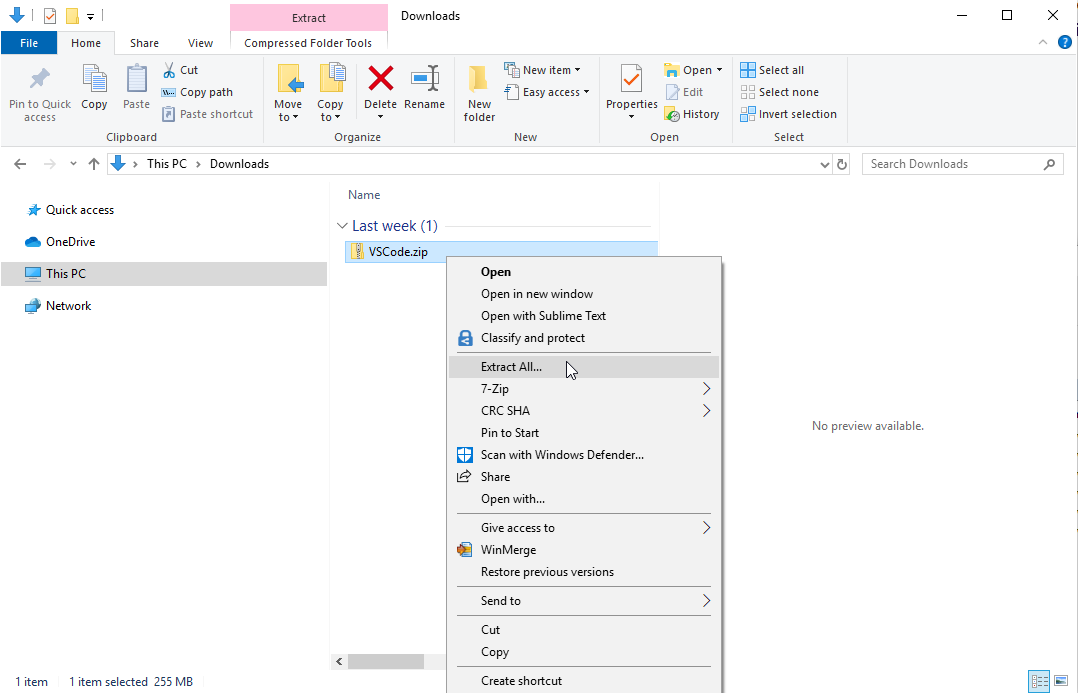
Download the file here: VSCode (unzip and run RUN-VSCODE.bat in it).zip
After you download the file, you need to:
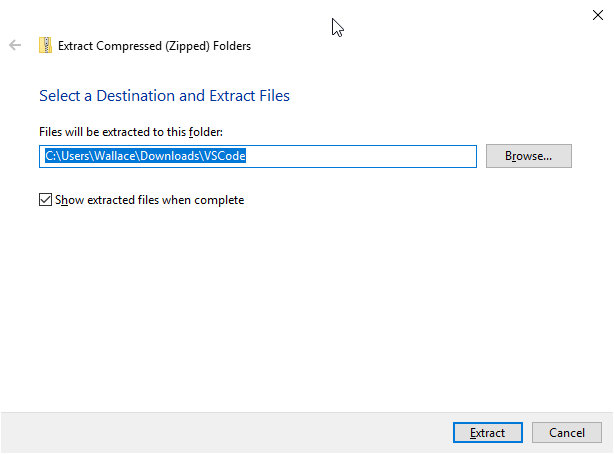
- Unzip/extract it. (You should not just double-click the file and run the files inside, you need to extract the files first)
- Go into the folder extracted.
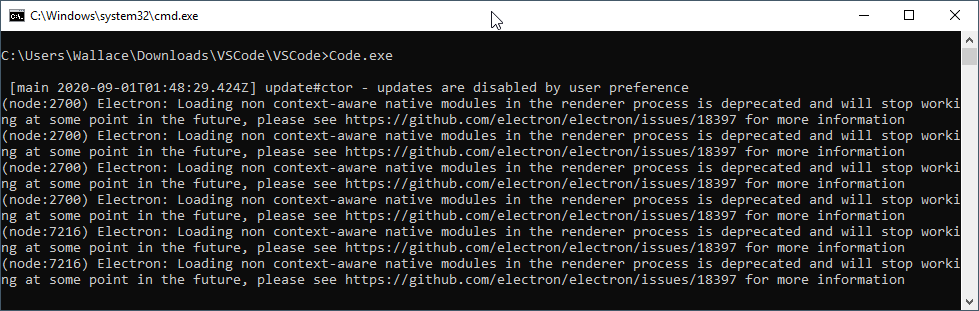
- Very important! Run the RUN-VSCODE.bat, NOT the Code.exe. Otherwise, the compiler won't work. See the screenshot below. It may only show "RUN-VSCODE" on your computer, that is fine.

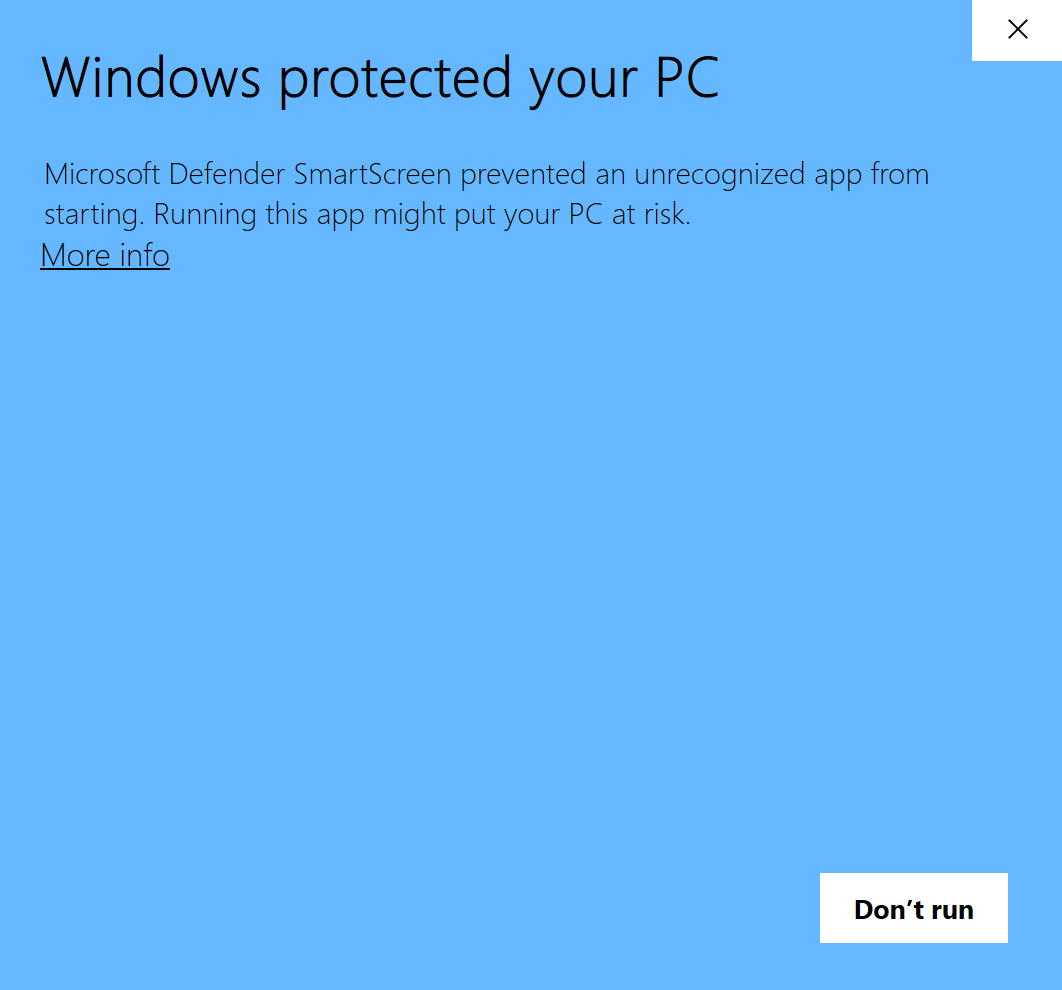
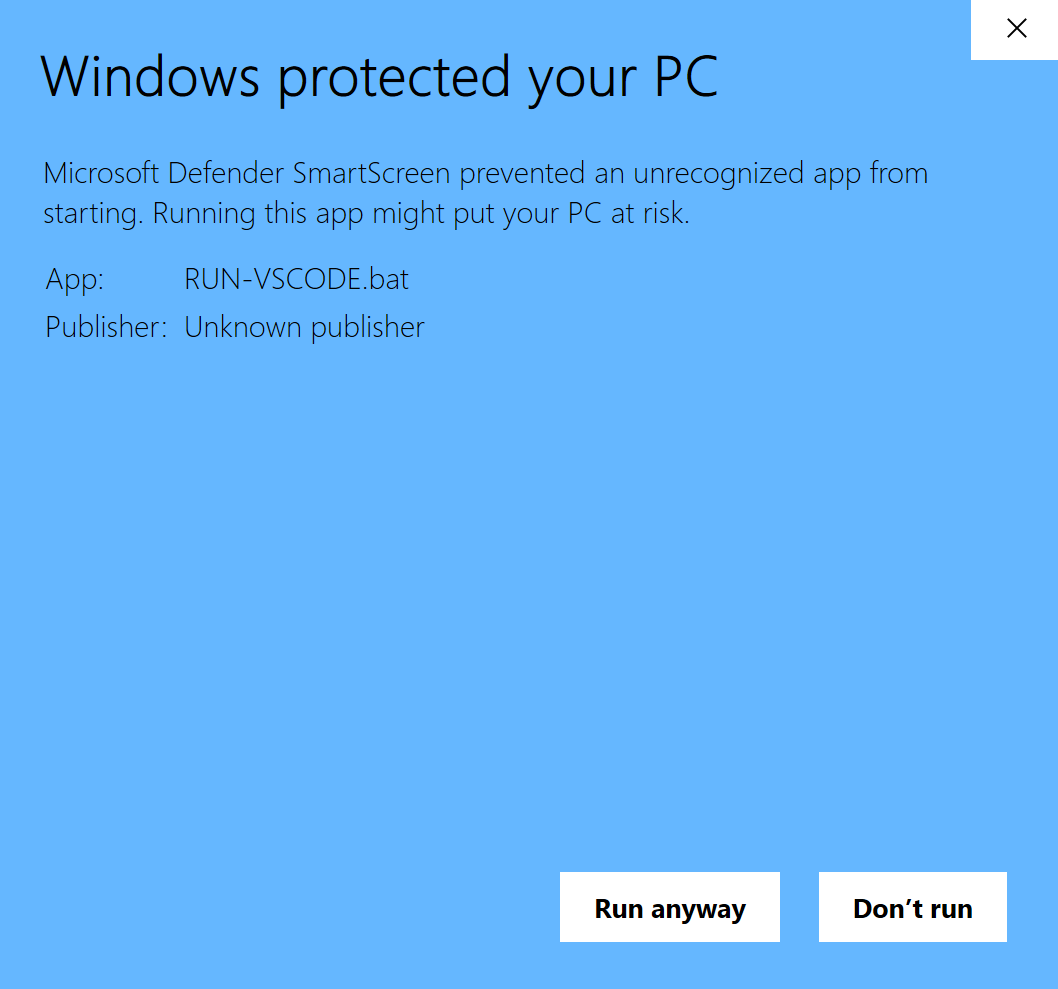
Note: When you first run the RUN-VSCODE.bat, you may see a warning as follows. Just click "More info" and "Run anyway".
Note: a black window (command prompt) may pop up. Don't worry about it. Just do NOT close it.
You should see the VS Code running after clicking on RUN-VSCODE.bat
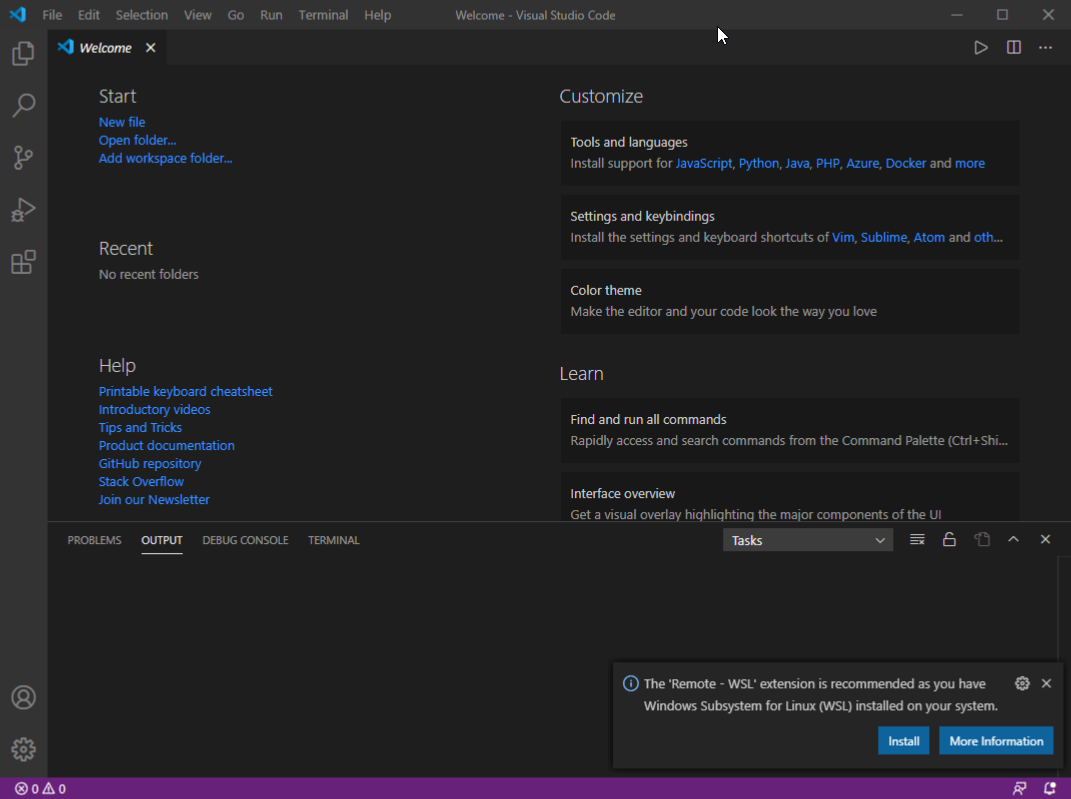
There may be some popup such as extension recommendations at the lower-right corner, just close them with the close button on them.
That would be the easiest way to run VS Code. You can go to the Compiling and running your first program section directly if you can get the portable version running.
However, if this portable version doesn't work for you for whatever reason, or that you want to install VS Code yourself, you can follow the instructions in the next section. You may use VS Code in the Virtual Barn if you really cannot install/use it on your PC.
Installing MinGW g++ compiler
Note: if you can use the portable version of VS Code, you don't need to follow the manual installation below.
For manual setup of VS Code, let's first install the compiler.
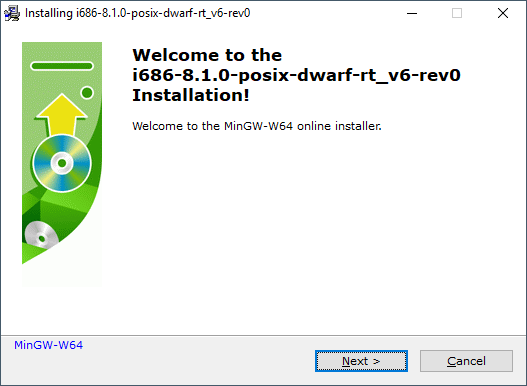
Go to https://sourceforge.net/projects/mingw-w64/files/Toolchains%20targetting%20Win32/Personal%20Builds/mingw-builds/installer/mingw-w64-install.exe/download and download the setup file.
Run the setup. Click Next on the first dialog.
Choose x86_64 as the Architecture. Click Next.
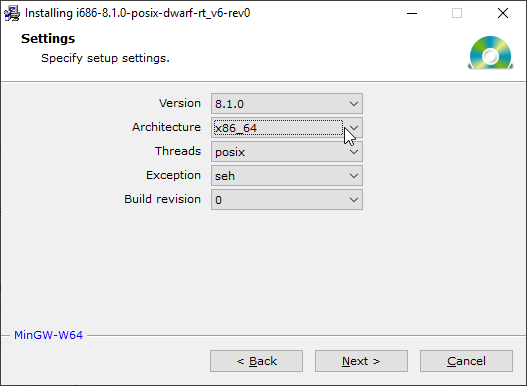
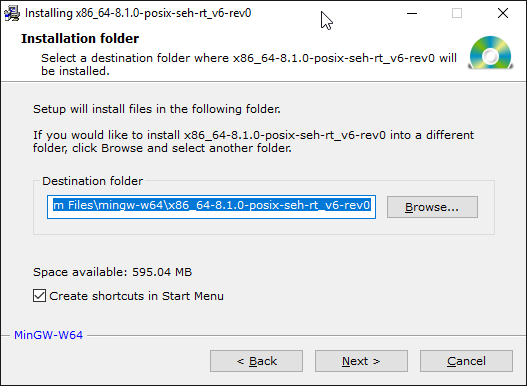
Note the Destination folder. For us, it is "C:\Program Files\mingw32-w64\x86_64-8.1.0-posix-seh-rt_v6-rev0" but yours may be slightly different due to version difference. Copy down your destination path now. We will need it later.
Click Next and proceed to finish the installation.
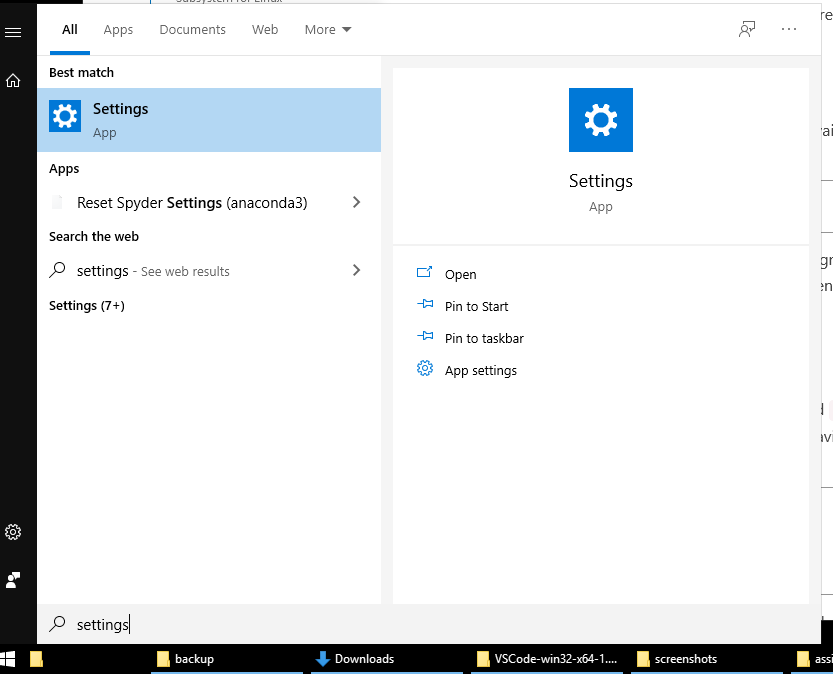
Open the Start Menu (press the Windows button), type and search for "Settings".
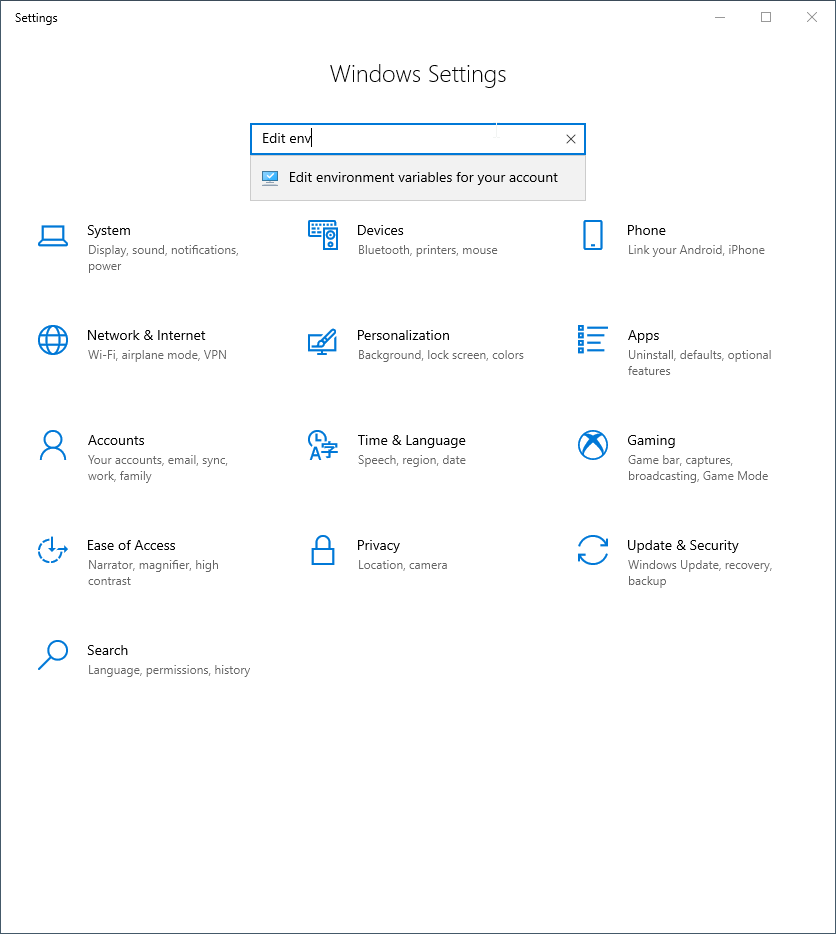
On the "Settings" dialog, type and search for "Edit environment variables for your account".
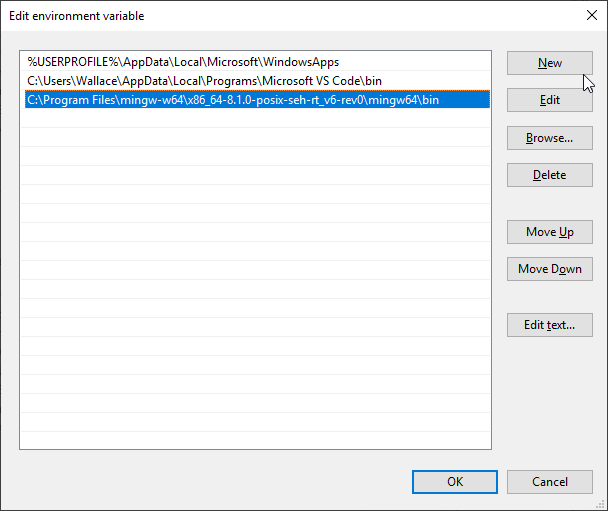
On the dialog, choose the "Path" user variable as shown below, and click "Edit..."
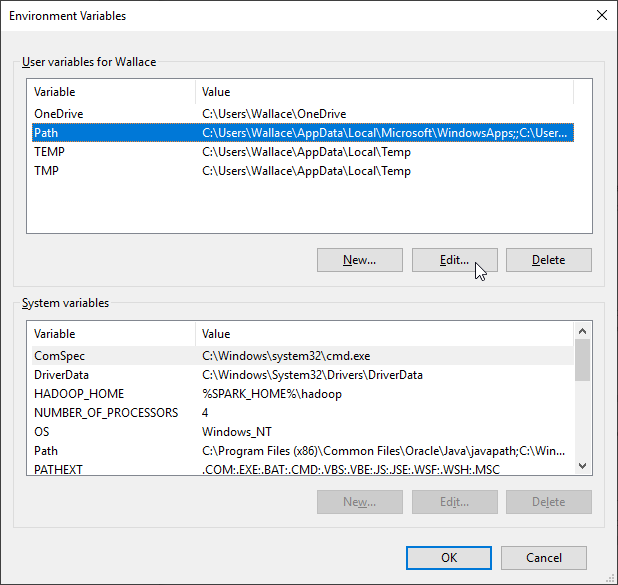
On the new dialog, Click "New" to add a new path, the path should be what you noted down earlier appended with \mingw64\bin
For example (again, yours may be different), since our destination path is C:\Program Files\mingw32-w64\x86_64-8.1.0-posix-seh-rt_v6-rev0, so the new path we add should be C:\Program Files\mingw32-w64\x86_64-8.1.0-posix-seh-rt_v6-rev0\mingw64\bin
Click OK for all open dialogs and confirm the changes.
Installing VS Code
Now we install the VS Code.
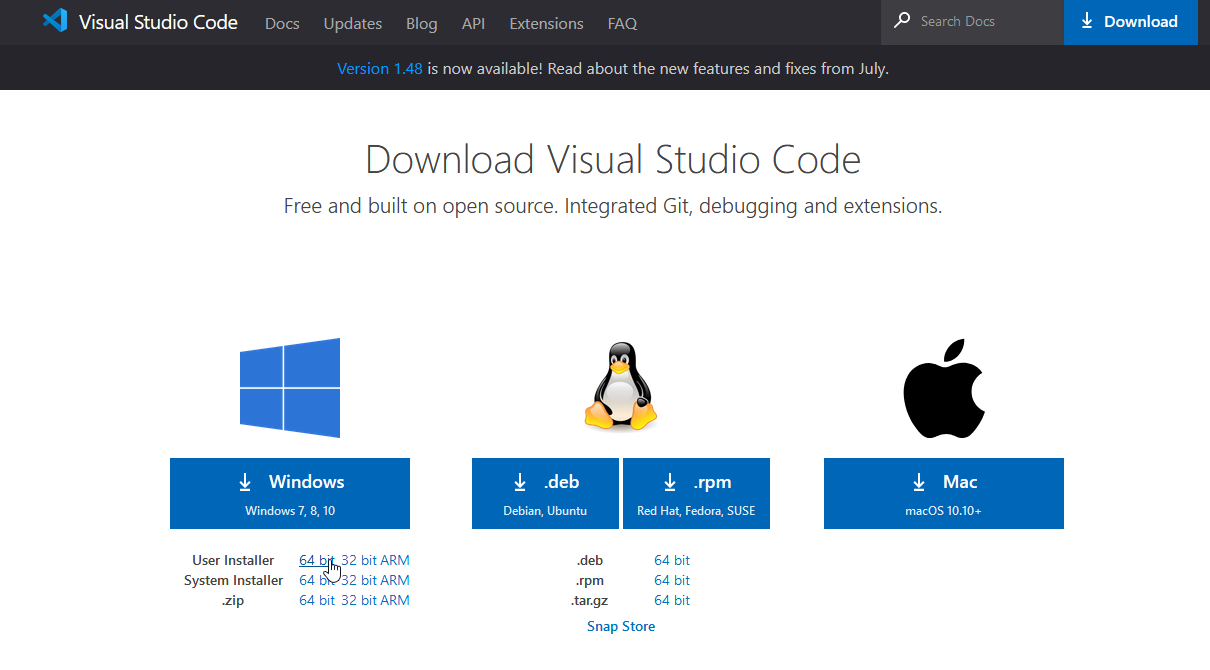
Go to https://code.visualstudio.com/download and download the 64 bit User Installer for Windows
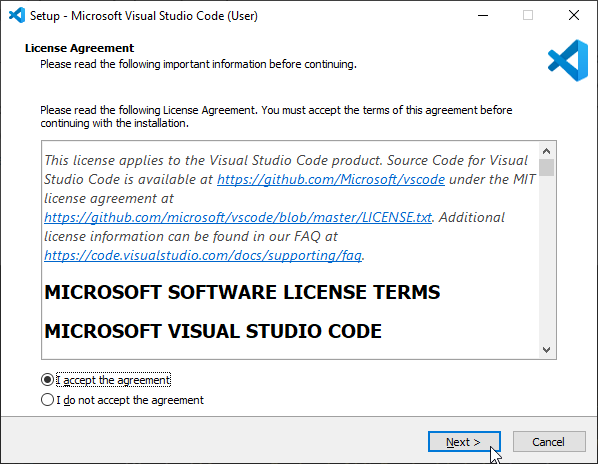
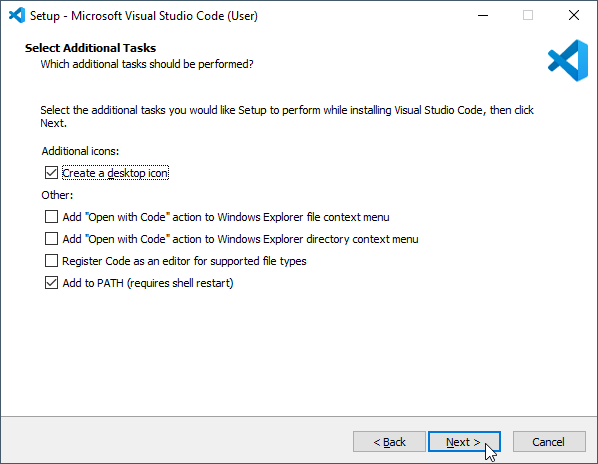
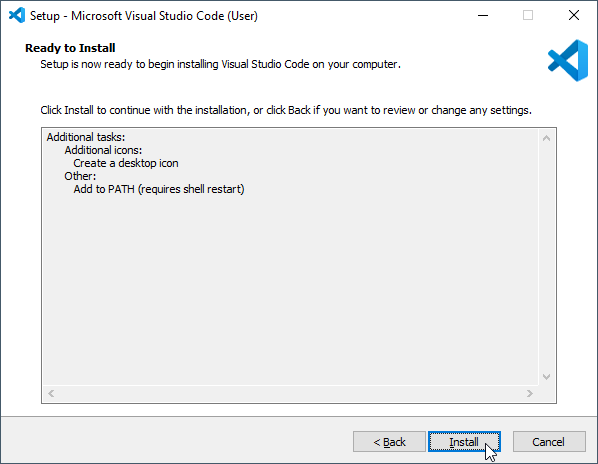
Follow the screenshots and proceed to install the VS Code.
Installing VS Code extensions
We can install some extensions to make our life with programming C++ easier in VS Code.
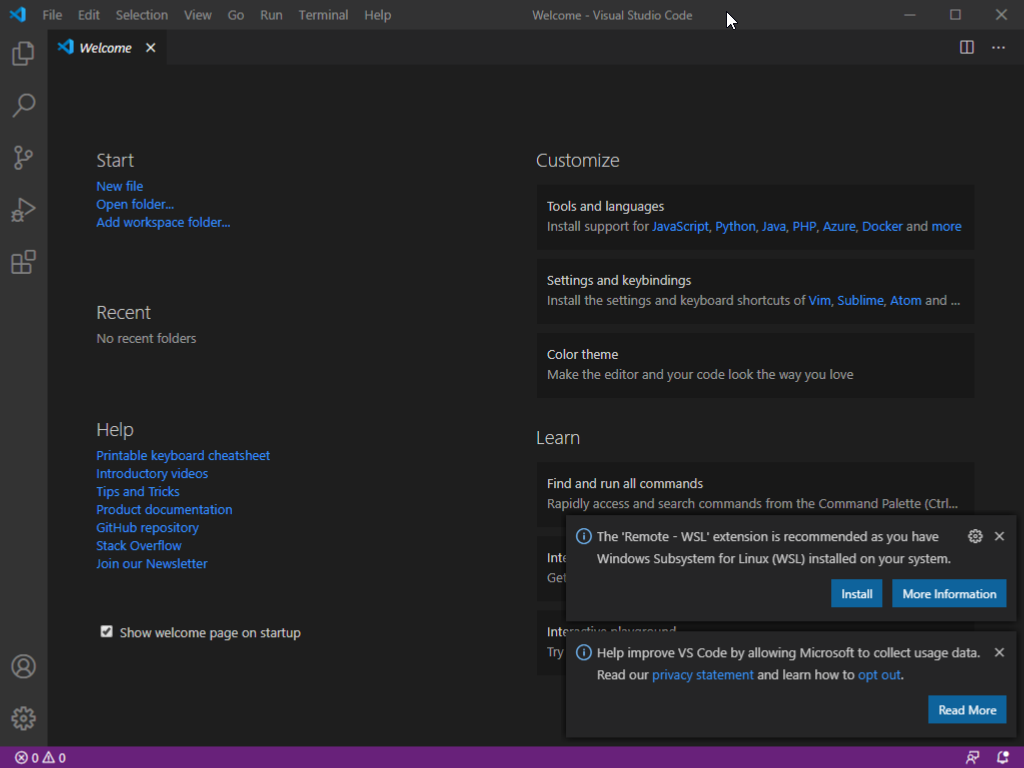
Let's launch VS Code first. It probably is on your Desktop if you have followed our installation procedures. If some popups appear on the bottom-right corner of VS Code, just close them with the close buttons just above them.
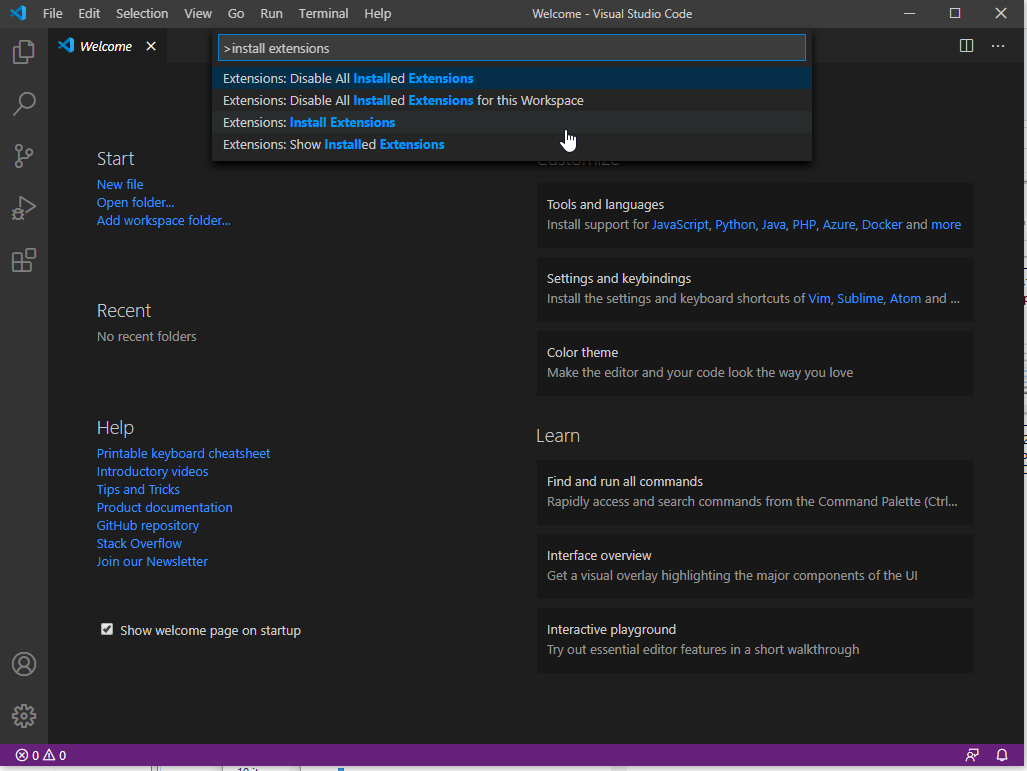
From the "View" menu, choose "Command palette" (you can also press F1 on your keyboard if you are using Windows). The command palette, in which you can search for and run various commands, appears. Search for and run "Extensions: Install Extensions".
On the extensions sidebar on the left, search for the extension "C/C++". Click "Install" to install it.
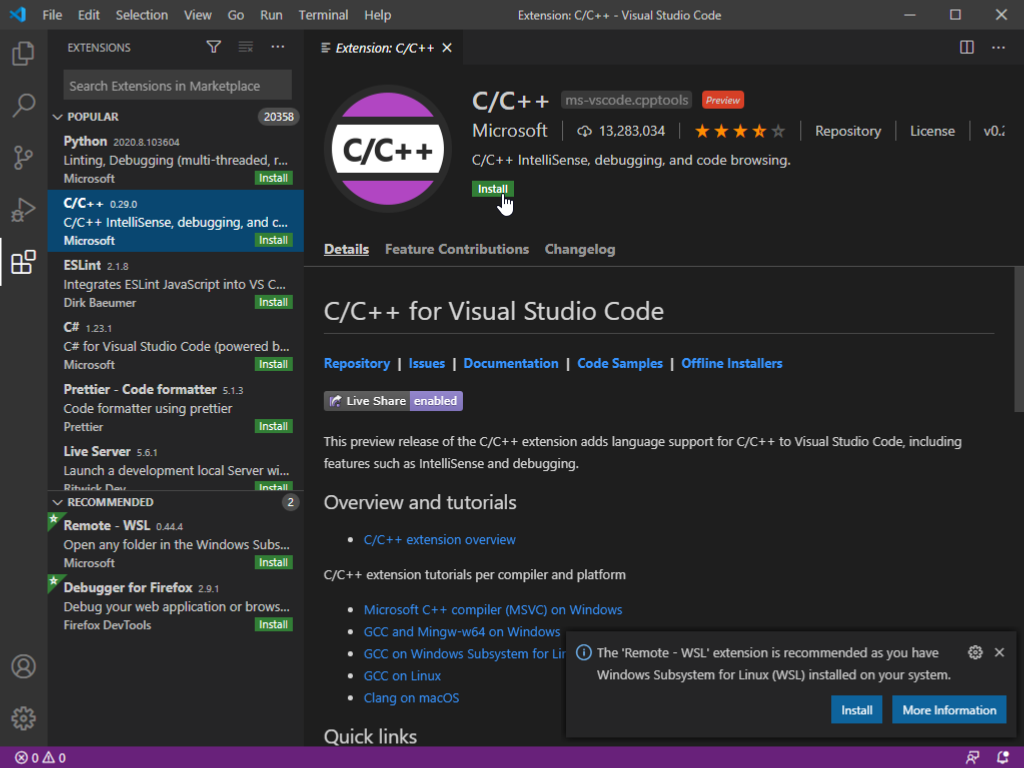
Similarly, search for and install "Code Runner".
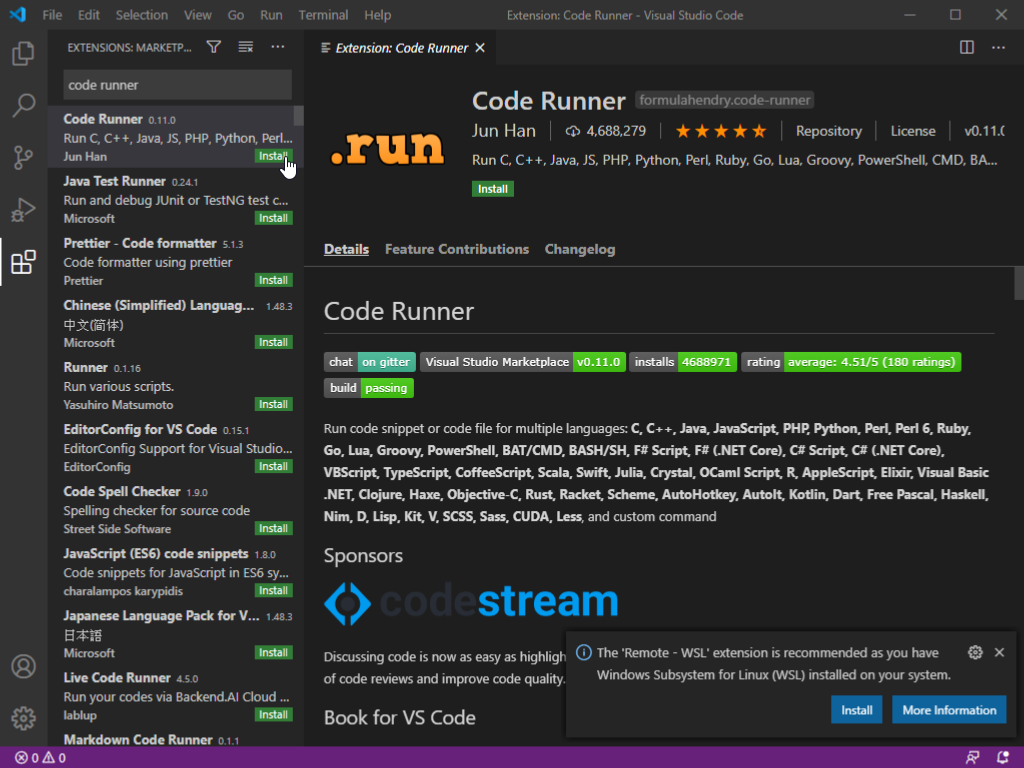
Remember to click the install button for both extensions.
Now open the command palette, type and run "Preferences: Open Settings (JSON)". Put in the following and save the file:
{
    "update.mode": "none",
    "code-runner.customCommand": "make",
    "code-runner.runInTerminal": true,
    "code-runner.saveFileBeforeRun": true,
    "code-runner.saveAllFilesBeforeRun": true,
    "code-runner.ignoreSelection": true,
    "code-runner.clearPreviousOutput": true,
    "terminal.integrated.scrollback": 10240,
    "files.eol": "\n",
}
With both extensions installed, we will create our first C++ program in the next section.
Note: With the manual installation of VS Code, for those of you who want to use the "make" program for Makefiles, please note that you need to type mingw32-make instead of make in the terminal. With the portable version, just use make because we have renamed mingw32-make.exe to make.exe for you.
Compiling and running your first program
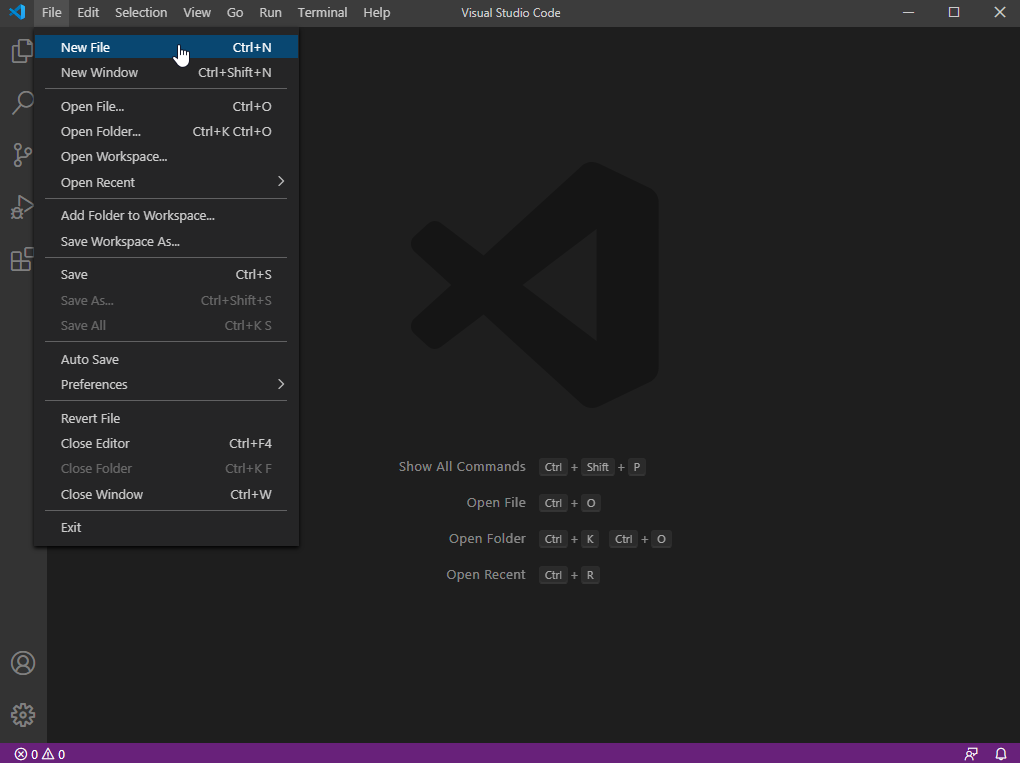
From the "File" menu, choose "New File", or simply use the keyboard hotkey Ctrl+N on Windows. Tips: you can also find it in the command palette (press F1 key on Windows and type "New File"; on MacOS, the command palette hotkey is different, you may find it from the "View" menu)
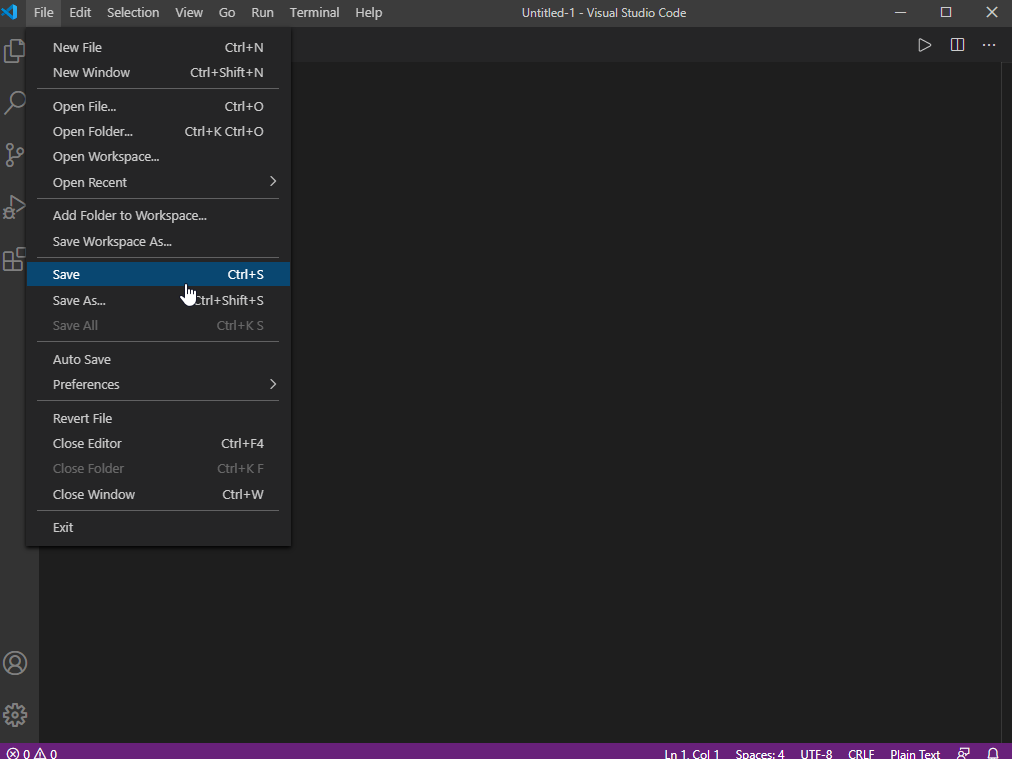
Let's save the "untitled" file right away first. Choose "Save" from the "File" menu.
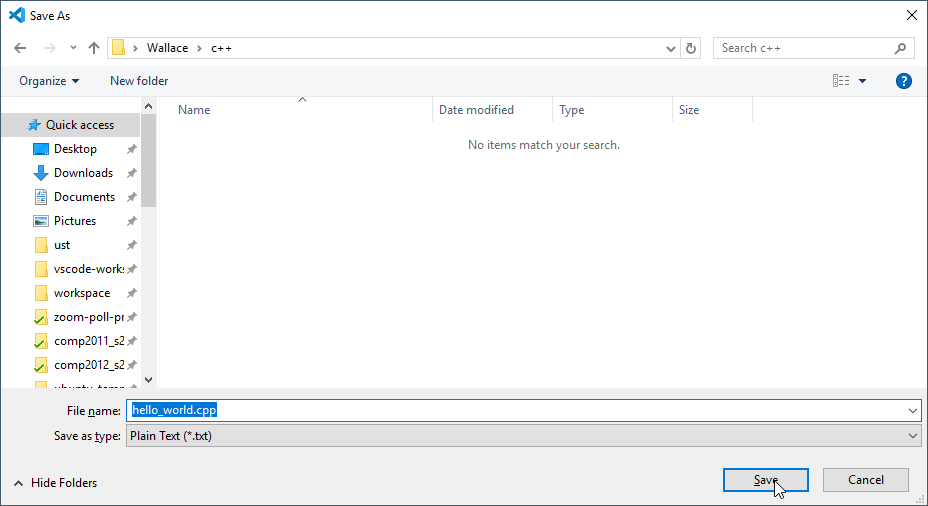
Choose a location, give it a proper name, and click "Save". Note: make sure the name is something.cpp which ends with .cpp to indicate that is a C++ source file.
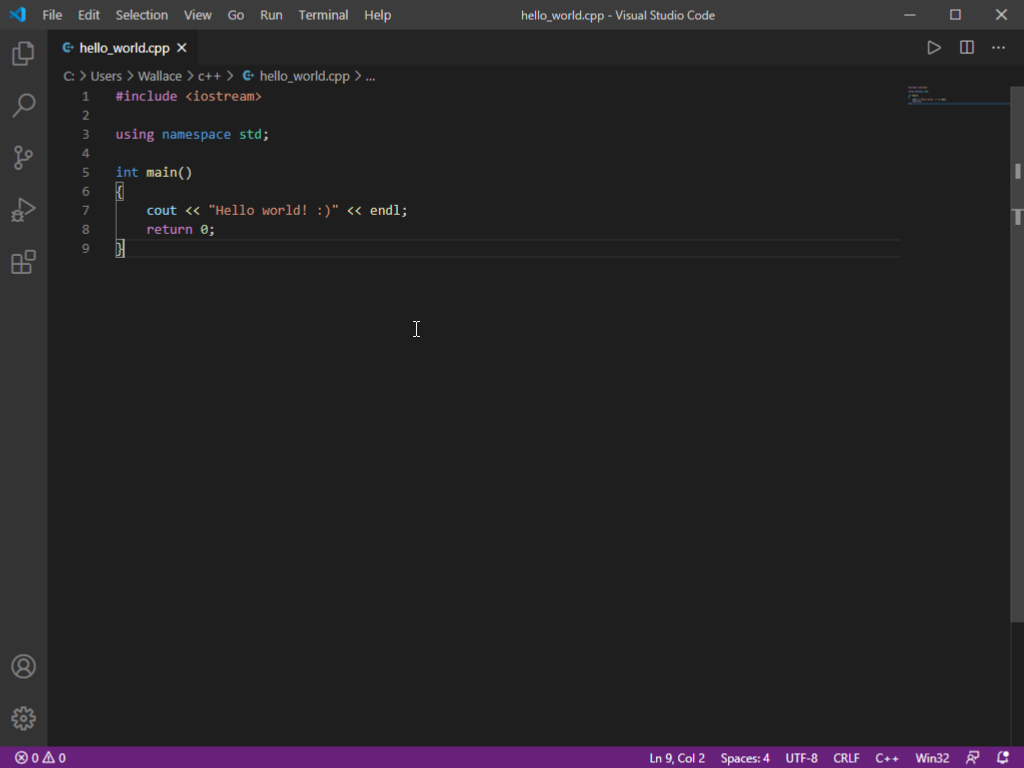
Now go ahead and enjoy C++ programming in the code editor. :)
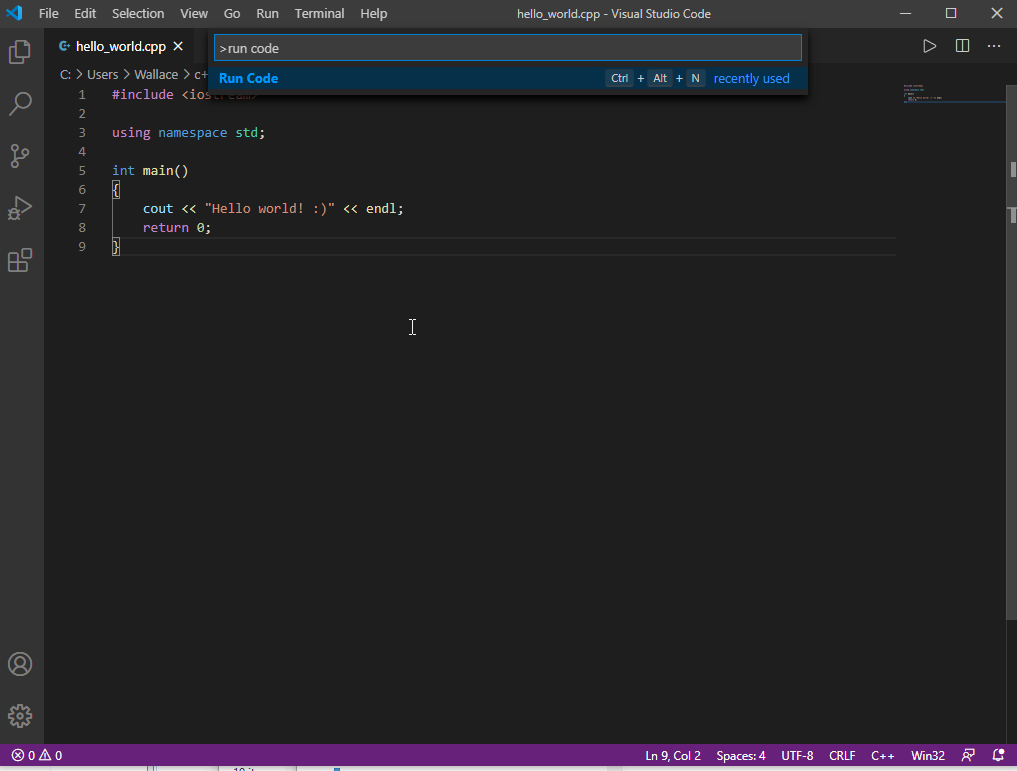
Press F1, and run "Run code" from the command palette. If you don't have this option, that means you didn't install the "Code Runner" extension. Revisit the previous sections for manual setup.
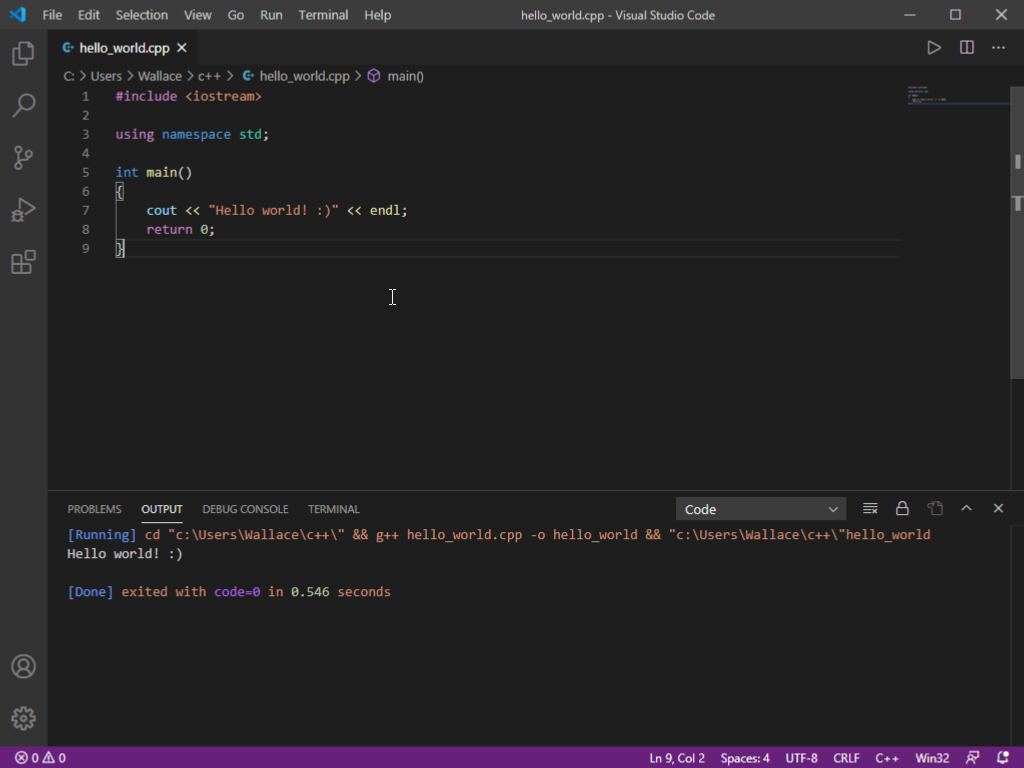
Viola! Here is your first C++ program running at the bottom! Congratulations!
If you are using our portable version, and you got an error like "g++" is not found/recognizedm, be reminded that you must run RUN-VSCODE.bat instead of code.exe. If you already did, you may try to manually setup VS Code yourself according to our instructions in previous sections.
Note that the steps above that compile and run the program with the Coderunner extension are only for programs that consist of a single cpp source file. If your program consists of more than 1 source cpp files (appear in the later part of COMP2011, and COMP2012/COMP2012H), you need to follow the next section instead to compile and run it in the terminal instead.
Creating a project and using the terminal for custom compilation command
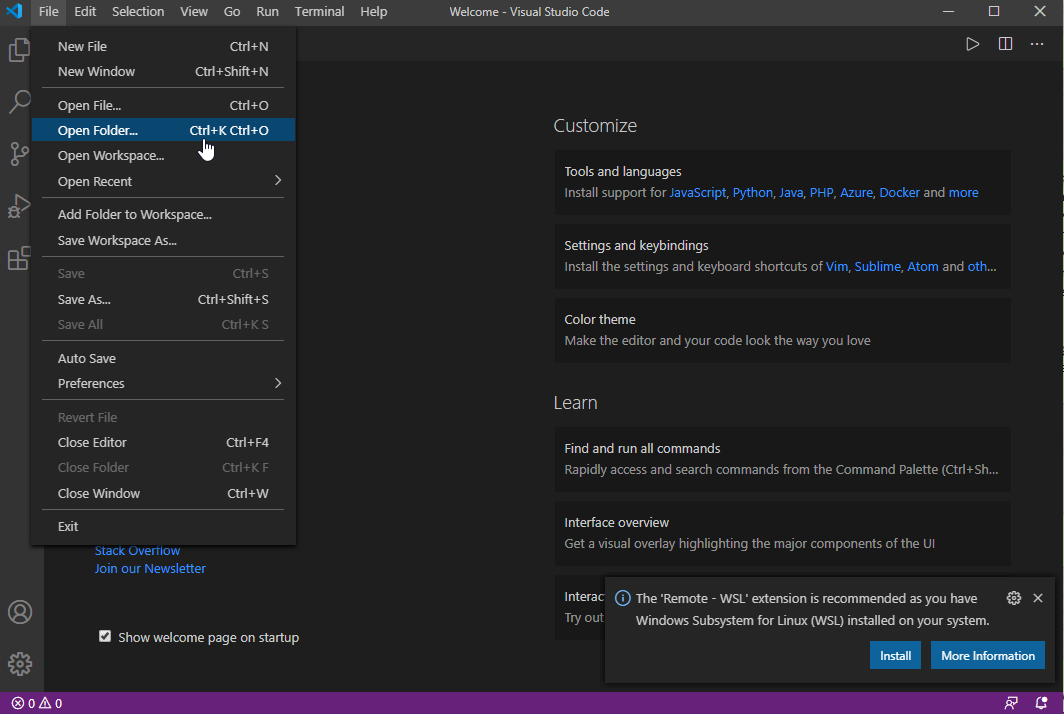
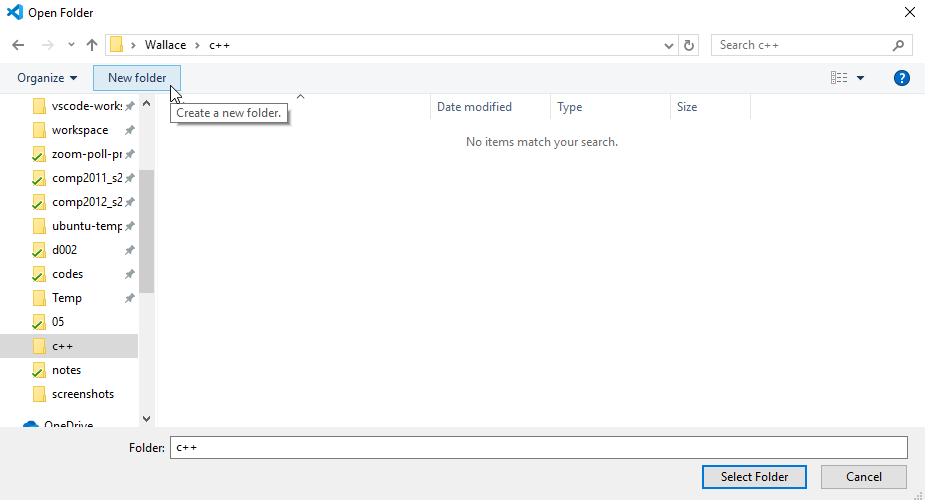
From the "File" menu, choose "Open Folder".
You may create a new folder here in this dialog as shown, or you can create a new folder externally in the Windows file explorer yourself first.
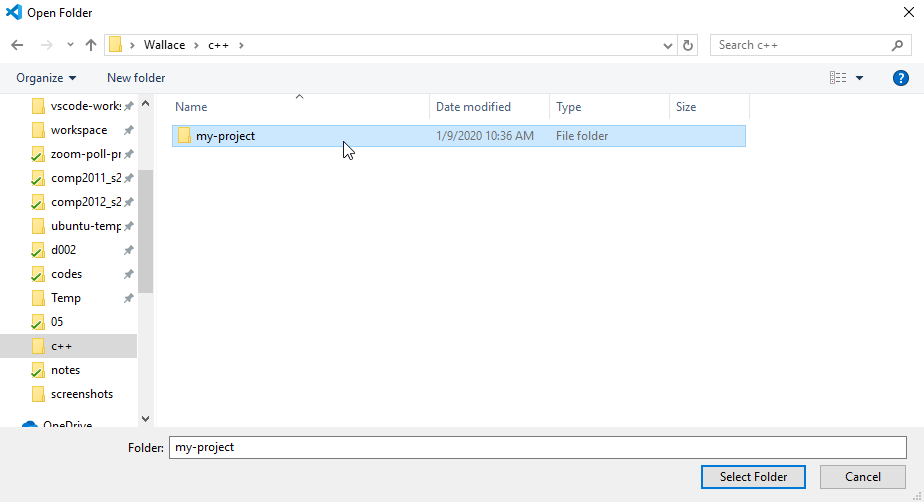
Go into the folder.
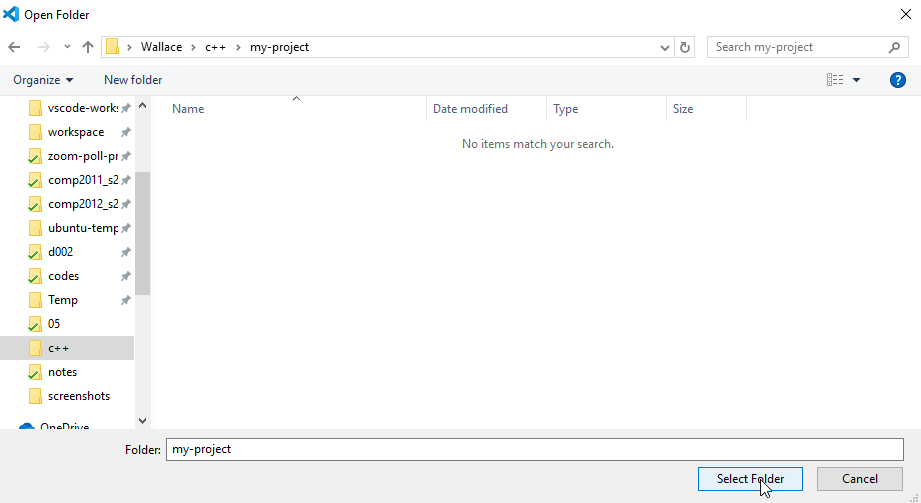
Select the folder.
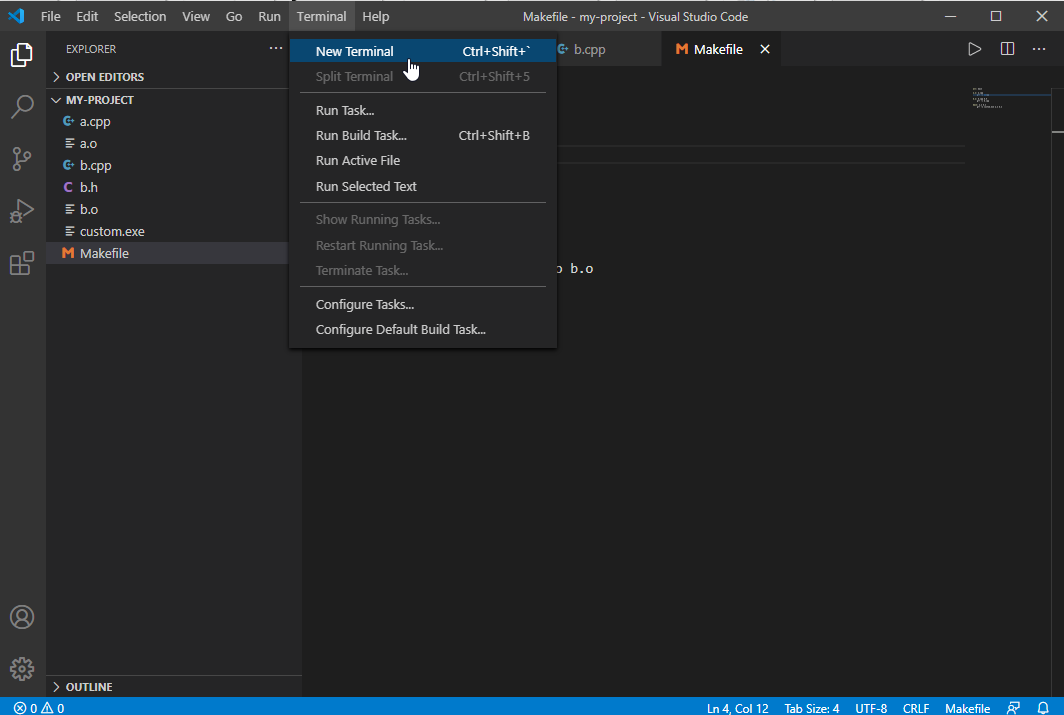
Then you can just create the files you need for your project (Using "New File" as illustrated in a previous section). You can put multiple source files, header files, and a Makefile in the same folder, for example.
To run custom commands, such as make for using the Makefile utility for separate compilation (covered at the beginning of COMP2012), click "New Terminal" from the "Terminal" menu.
Then you can run any commands (we may cover some of those in COMP2011/2012/2012H) in the terminal at the bottom. If it is a blank at the bottom, try click on it and press enter a few times.
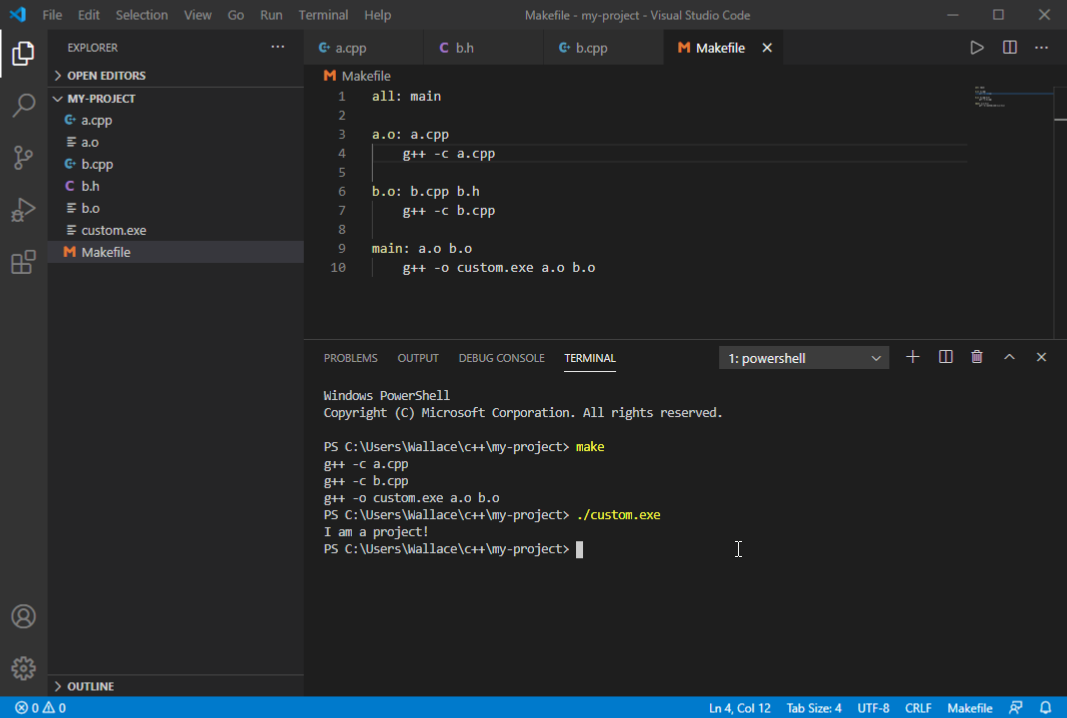
If you do not know about makefile, you may also use the command g++ -std=c++11 *.cpp -o programName.exe to compile all cpp source files in the current folder into a program named programName. You may use the command ./programName.exe in terminal to run the program then.
Note: With the manual installation of VS Code, for those of you who want to use the "make" program for Makefiles, please note that you need to type mingw32-make instead of make in the terminal. With the portable version, just use make because we have renamed mingw32-make.exe to make.exe for you.
Using VS Code in Virtual Barn
You may remote control a Windows machine in HKUST virtual barn. After following the installation guide and user guide there to install the remote control client and connect to the HKUST network, choose the Programming Software server when you are offered a selection of different servers.
VS Code is not installed there. However, you can download our portable version and use it there. It is very important for you to download it and extract the VSCode folder to C Drive as shown below, then just run the RUN-VSCODE.bat as instructed in our portable usage instructions (you should read that first). VS Code may not work if you extract it to other places such as the desktop or the downloads folder in the virtual barn.

FAQ
Q: Compilation is taking a very long time. Sometimes, it won't even compile after waiting for a long time... :(
A: From our experience, it can be due to some Anti-Virus program heavily interfering the compilation process somehow, as a foreign executable (your program) is being generated. You may try to temporarily turn it off, and compile again.
Q: I cannot enter any input to my program after I run it, what should I do?
A: If you have downloaded our portable version before 2020-09-07 11:30am, you may download our latest version on this page again. Alternatively, you can open the command palette, type and run "Preferences: Open Settings (JSON)". Put in the following and save the file (remember to save it or changes won't apply):
{
    "update.mode": "none",
    "code-runner.customCommand": "make",
    "code-runner.runInTerminal": true,
    "code-runner.saveFileBeforeRun": true,
    "code-runner.saveAllFilesBeforeRun": true,
    "code-runner.ignoreSelection": true,
    "code-runner.clearPreviousOutput": true,
    "terminal.integrated.scrollback": 10240,
    "files.eol": "\n",
}
Q: I ran my code once, and the program was stuck becasuse there was an infinite loop. So I fixed the problem in my code, but then I couldn't compile and run my code again. What should I do?
A: Your previous code (program) is still running, so the compilation of your updated code cannot take place. You may focus/select the terminal, and press Ctrl-C (hold down Ctrl key and press C then) to stop a currently running program in the terminal. Or you can try to kill the terminal (via the rubbish bin button on the top-right corner of the terminal window) and open a new one.
Q: I have updated/fixed my code, but when I try to compile it, the old errors still exist?
A: If you are sure you have updated your code properly (e.g. fixed the error in the code), you probably have forgotten to save your file before compiling it again. Save it first. You may also add convenient settings code-runner.saveFileBeforeRun": true, and "code-runner.saveAllFilesBeforeRun": true, to the JSON settings file (open the command palette, type and run "Preferences: Open Settings (JSON)"). Along with some other settings, your JSON settings file may look like the following:
{
    "update.mode": "none",
    "code-runner.customCommand": "make",
    "code-runner.runInTerminal": true,
    "code-runner.saveFileBeforeRun": true,
    "code-runner.saveAllFilesBeforeRun": true,
    "code-runner.ignoreSelection": true,
    "code-runner.clearPreviousOutput": true,
    "terminal.integrated.scrollback": 10240,
    "files.eol": "\n",
}(We have already added the settings above to the portable version on 20200912.)
Q: I couldn't compile my whole file with "Run code" it seems?
A: Make sure you don't have any active text selection (e.g. highlighting some of your code text) when you "Run code". If you have selected some of your code, only those selected may be compiled with the Coderunner extension. The "code-runner.ignoreSelection": true setting may help. (see the previous FAQ on how to modify the settings)
Menu
- Overview
- Installing VS Code for MacOS
- Using the portable version for Windows (easiest way)
- Installing VS Code manually for Windows (alternative way)
- Compiling and running your first program
- Using the terminal for custom compilation commands
- Using VS Code in Virtual Barn
- FAQ